Image to Image
Image to Image: start from a picture instead of a blank prompt
Start free — no credit card.
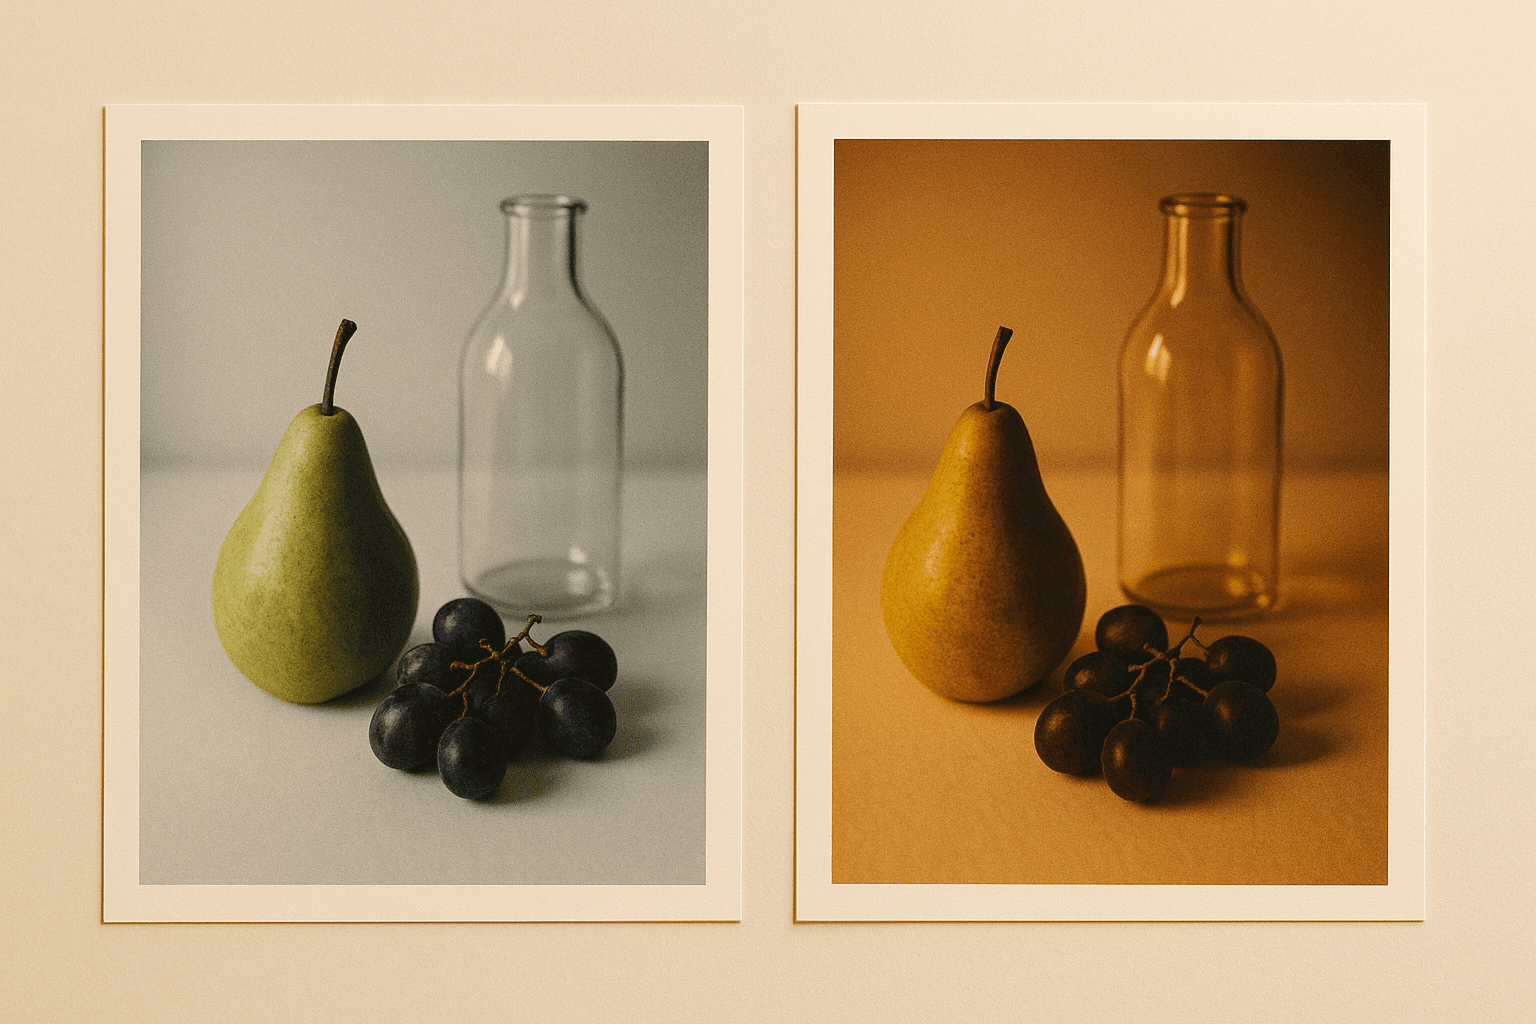
Denoise strength is the only control that really matters
Image-to-image works by adding noise to your source and then denoising it back toward your prompt. The amount of noise added is the denoise strength, and it decides everything: at 0.2 you get the same photograph with a slightly different surface, at 0.5 the composition survives but the content is renegotiated, at 0.85 you have effectively written a text prompt with a mood board attached.
Most disappointing results come from the wrong number rather than the wrong prompt. If the output ignored your source, the strength was too high. If it ignored your prompt, the strength was too low. Sweeping the value across three or four settings tells you more in a minute than an hour of rewording.
What an AI image generator from image is good at
Restyling is the strongest use: keeping a composition you already like and changing the medium, the season, the time of day or the palette. Because the geometry comes from the source, you skip the hardest part of text-to-image, which is getting the arrangement right.
Variation is the second: generating a family of near-siblings around one image for A/B tests or a series. And extension — outpainting a photograph to a wider aspect ratio — is quietly the most practical of the three, because a 4:5 photograph that needs to be 16:9 is a problem everybody has and cropping never solves well.
Where it fails, stated plainly
Image-to-image will not preserve an identity across a large change. Push the strength high enough to meaningfully restyle a portrait and the face becomes a different person — recognisably similar, not the same. If identity matters, that is a headshot job with reference conditioning, not an image-to-image job.
It also will not reliably preserve text, logos or exact product geometry. Anything symbolic gets re-drawn rather than transported. For product work where the item must match what ships, edit the background around a real photograph instead of regenerating the item.
How it works
Image to Image
- 01
Sweep the strength before rewording
Run 0.3, 0.5 and 0.7 with the same prompt. The right value is usually obvious immediately, and it saves rewriting a prompt that was never the problem.
- 02
Describe the destination, not the source
The model can already see the picture. Spend the prompt on what should change, not on describing what is already there.
- 03
Protect what must not move
If geometry or identity matters, keep strength low and make the change in editing instead. Regeneration renegotiates everything at once.
What people use the image to image for
Restyle a shot you already like
Keep a composition that works and change the medium or the light instead of re-rolling from scratch.
Aspect-ratio rescue
Extend a portrait-orientation photograph into a landscape banner without cropping the subject out of it.
Variation for testing
Generate a set of near-siblings from one approved image to test which direction performs.
Sketch to finished image
Start from a rough drawing or a blocking layout and let the model resolve it at low-to-mid strength.
Frequently asked questions
- What is image-to-image AI?
- Image-to-image generation creates a new picture from an existing one plus a prompt. The model adds noise to your source and denoises it back toward your description, so the output inherits some of the original and replaces the rest.
- What is denoise strength?
- It is how much of your source gets discarded before regeneration. At 0.2 the photograph survives almost intact; at 0.5 the composition holds but the content is renegotiated; at 0.85 the source is little more than a mood board.
- Why does the output ignore my source image?
- The denoise strength is too high. Sweep 0.3, 0.5 and 0.7 with the same prompt before rewording anything — most disappointing image-to-image results are the wrong number rather than the wrong words.
- Can it keep a person's face the same?
- Not across a large change. Push the strength high enough to meaningfully restyle a portrait and you get a recognisably similar but different person. If identity must hold, that is a headshot job with reference conditioning, not image-to-image.
- Can I use it to change a photo's background?
- You can, but editing usually beats regeneration here. Image-to-image renegotiates the whole frame at once, including the subject you wanted to keep. Removing and replacing the background directly preserves the subject exactly.
- Does it preserve text and logos?
- No. Anything symbolic gets re-drawn rather than carried across, so lettering comes back subtly wrong. Keep text out of the regenerated area, or add it afterwards.
- Can I extend an image to a different aspect ratio?
- Yes — outpainting generates new content beyond the original edges, which is how a 4:5 photograph becomes a 16:9 banner without cropping the subject. It is the most practical everyday use of the modality.
- What image formats can I upload?
- JPEG, PNG and WebP. Start from the largest, least-processed copy you have: compression artefacts in the source get interpreted as detail and carried into the output.
Keep exploring
More from LaFoto
Image to image at a glance
- Input
- JPEG, PNG or WebP
- Key control
- Denoise strength
- Keeps
- Composition and geometry at low strength
- Loses
- Identity and text at high strength
- Also does
- Outpainting to a new aspect ratio
- Free tier
- Yes
In practice
Denoise strength is the only control that really matters
Image-to-image works by adding noise to your source and denoising it back toward your prompt. The amount added is the denoise strength, and it decides everything: at 0.2 you get the same photograph with a different surface, at 0.5 the composition survives while the content is renegotiated, at 0.85 the source is little more than a mood board.
Most disappointing results are the wrong number rather than the wrong words. If the output ignored your source, strength was too high; if it ignored your prompt, too low. Sweeping three or four values tells you more in a minute than an hour of rewording.
Three ways in
What are you doing to the source?
Keep the composition, change the register
The strongest use. Because the geometry comes from the source you skip the hardest part of text-to-image, which is getting the arrangement right in the first place.
- Sweep 0.3, 0.5 and 0.7 before rewording.
- Describe the destination, not the source.
- Medium and light change more than subject words.
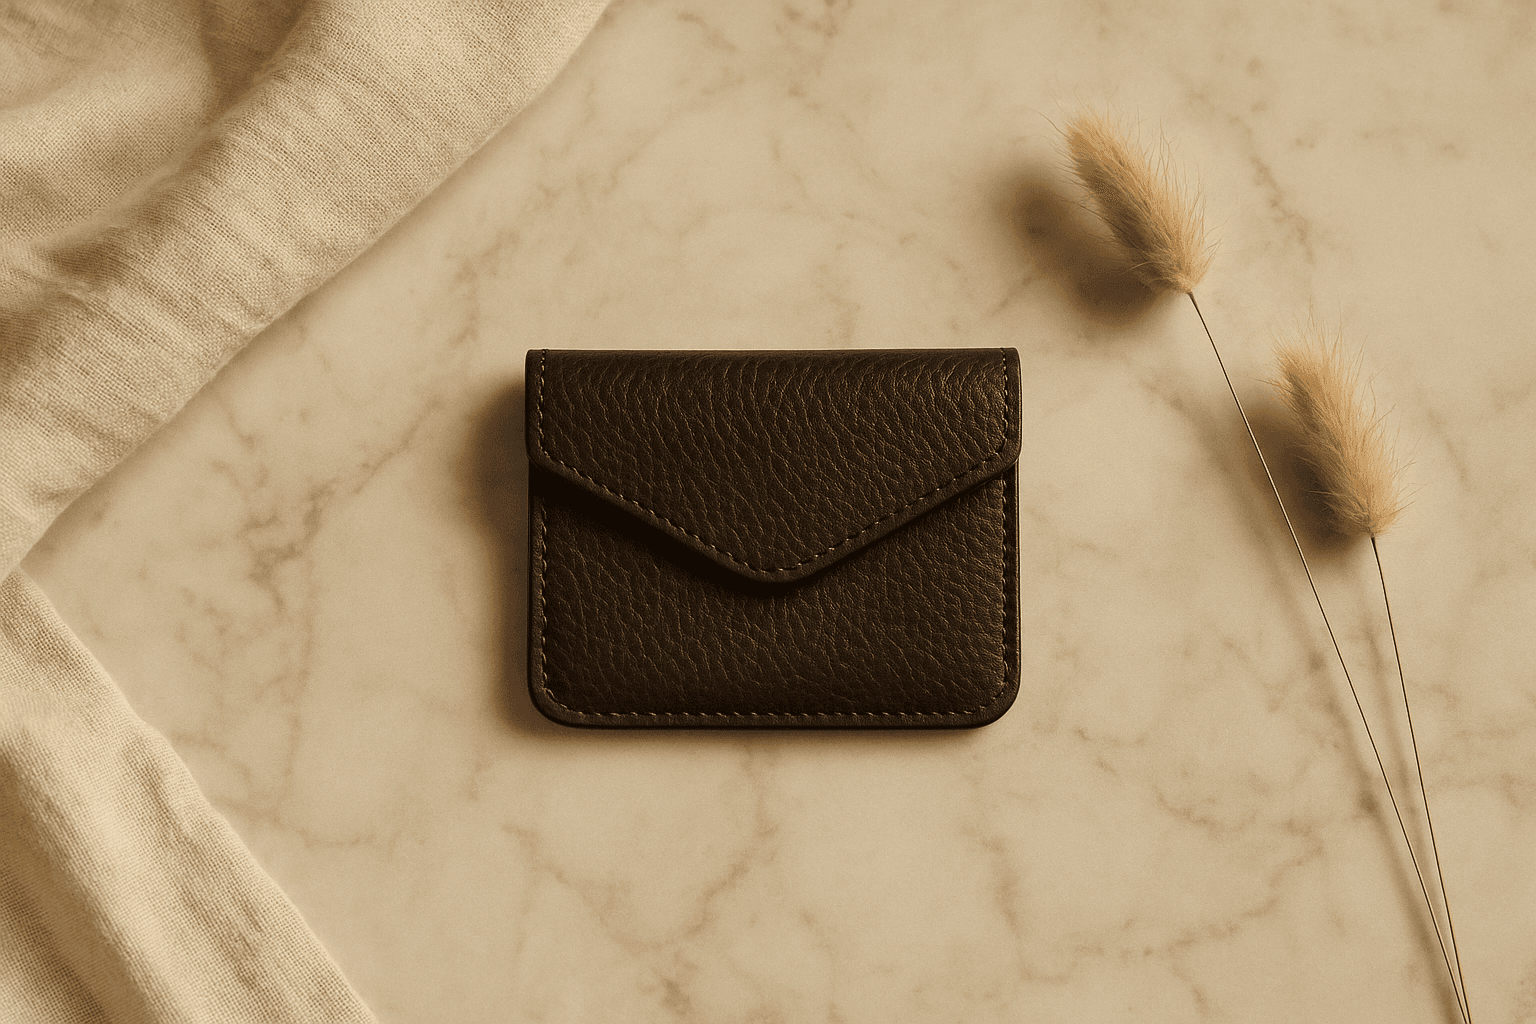
Generate a family around one image
Producing near-siblings for A/B tests or a series. Low strength with a fixed seed gives controlled variation rather than unrelated images.
- Fix the seed to isolate what changed.
- Low strength keeps them recognisably related.
- Change one clause at a time.
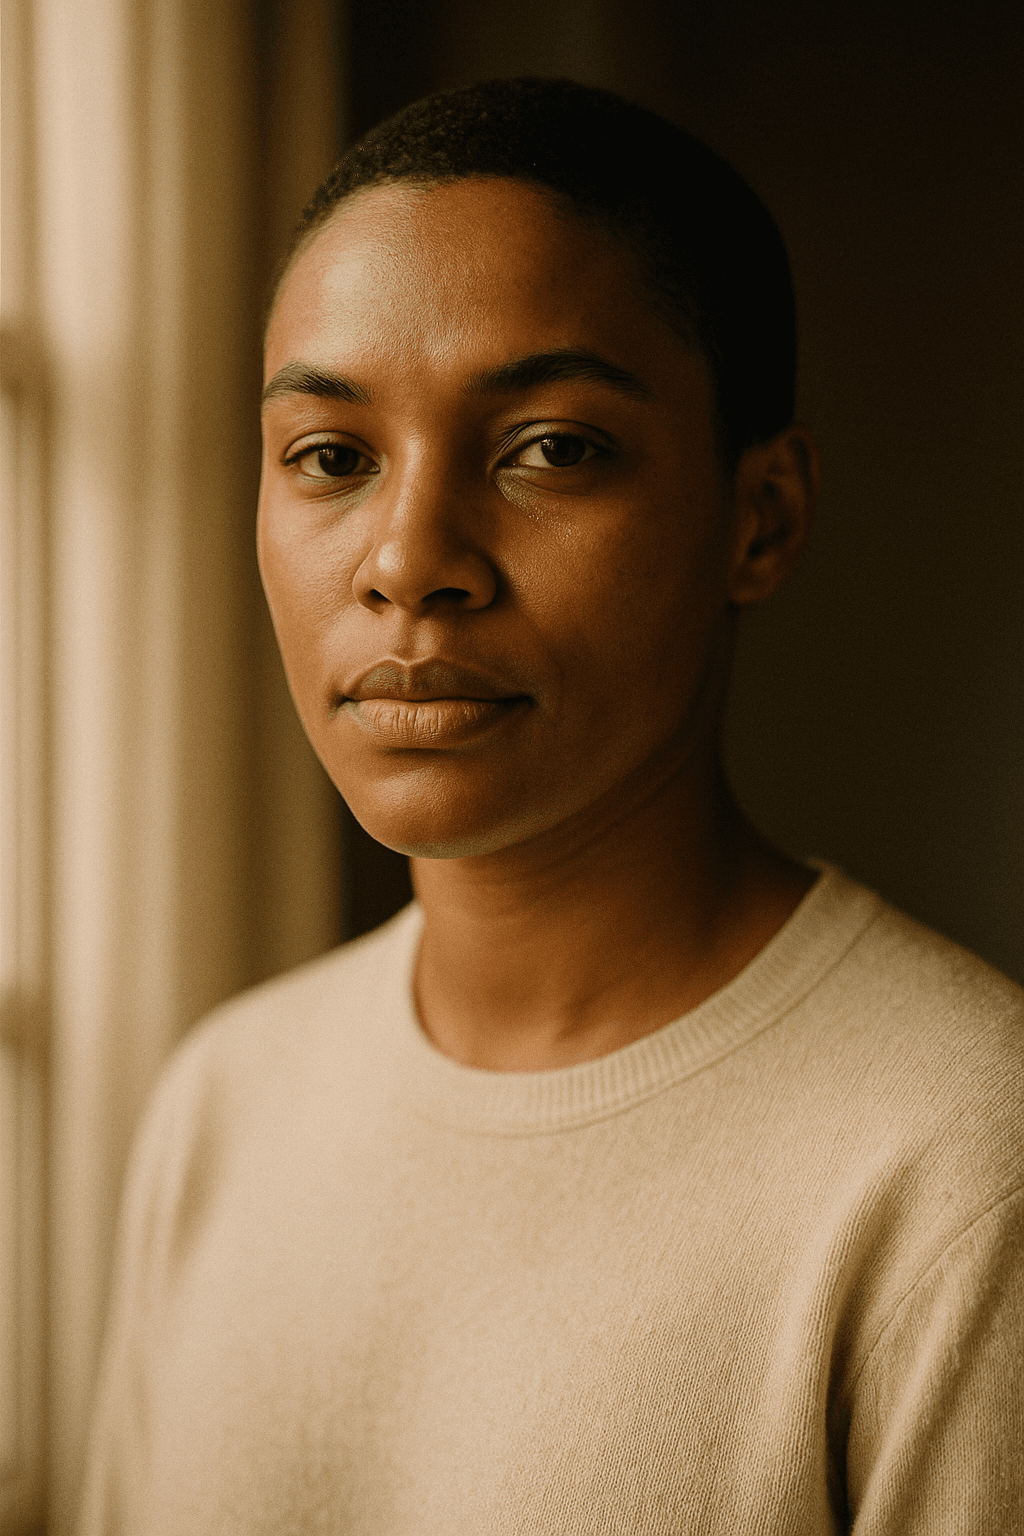
Outpaint to a different aspect ratio
Quietly the most practical of the three. A 4:5 photograph that needs to be 16:9 is a problem everyone has, and cropping never solves it well.
- Extend rather than crop when the subject is tight.
- Generate the new edges, keep the original centre.
- Works best when the extended area is simple.
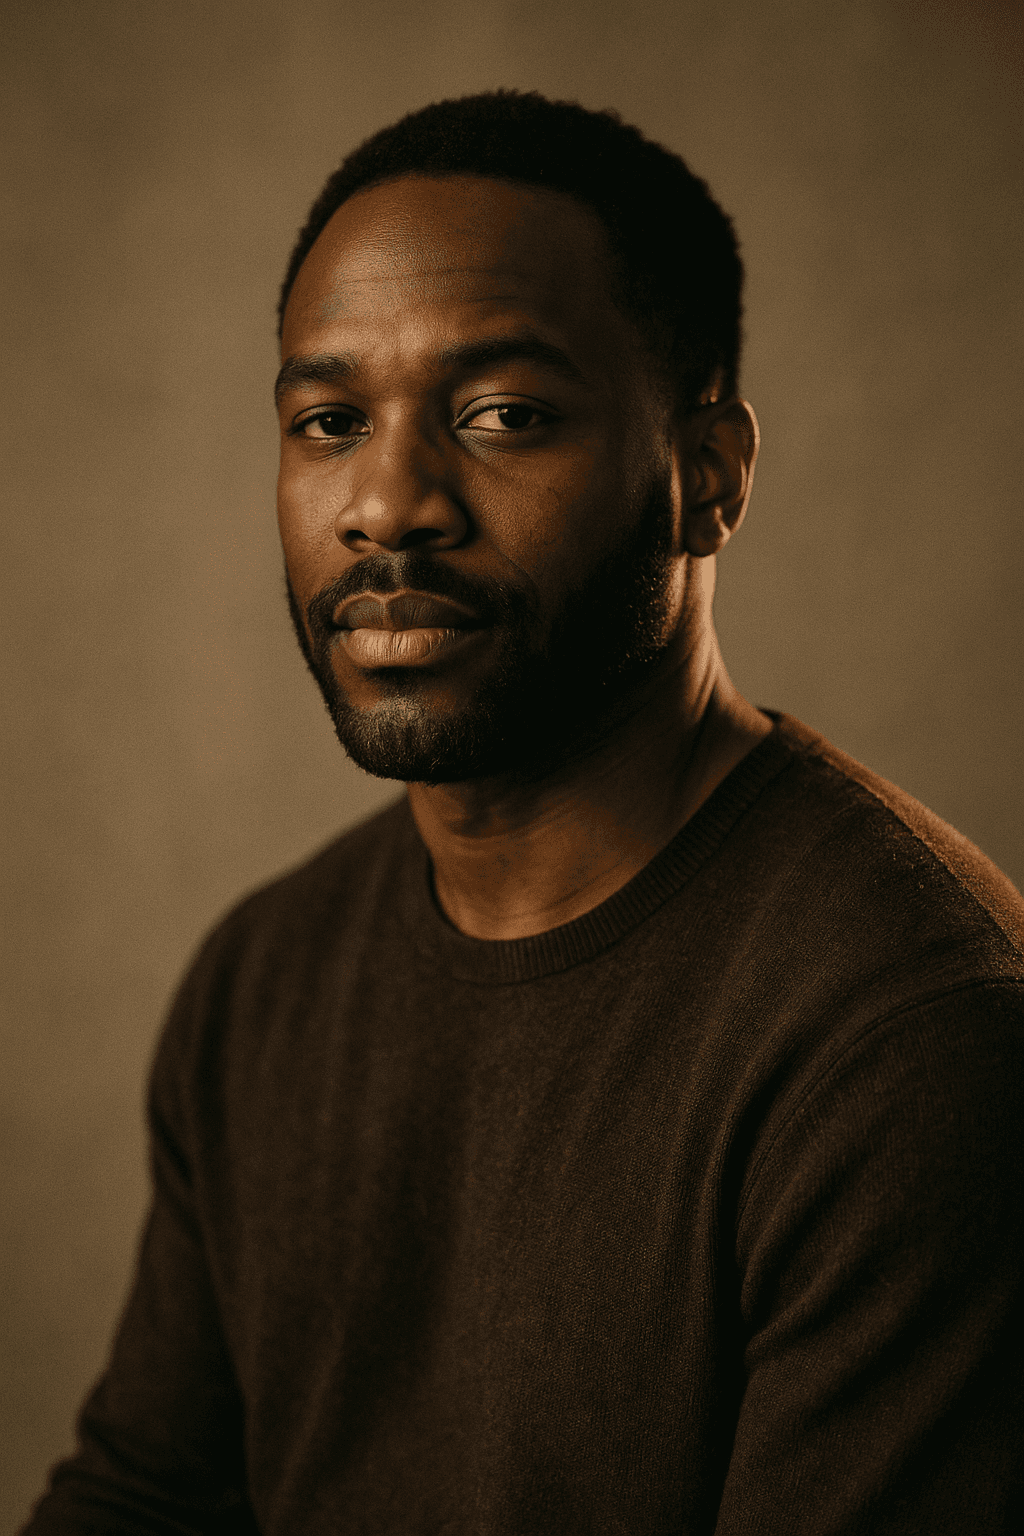
Detail
What image-to-image handles
The modality's real strengths and its hard limits.
Changing a photo's background
Editing usually beats regeneration here, because image-to-image renegotiates the whole frame including the subject you wanted to keep.
Turning a sketch into a finished image
Works well at low to mid strength. The sketch supplies composition and the model supplies rendering.
Preserving a face
Not across a large change. Recognisably similar is the ceiling, and that is usually not good enough for a person you know.
Preserving text or a logo
No. Symbolic content is re-drawn rather than carried across, so lettering comes back subtly wrong. Add it afterwards.
Which source file to use
The largest, least-processed copy. Compression artefacts read as detail and get carried into the output.
Related
Tools that pair with image-to-image
Keep exploring
Every generator around image-to-image
Starting from a picture is one path in.
- resize an image
- convert an image format
- compress an image
- crop an image
- image colour palette
- remove a background
- read photo metadata
- build a prompt
- anime image style
- cartoon image style
- pixel art style
- best AI image generators
- LaFoto vs Midjourney
- Leonardo AI alternative
- LaFoto vs Ideogram
- LaFoto vs Canva
- seeds explained
- denoise strength explained
- inpainting explained
- guides and explainers
Image to Image at a glance
- Runs in
- Your browser — nothing to install
- Account
- Not required to start
- Watermark
- None on the download
- Output
- PNG, JPEG or WebP
- Commercial use
- Permitted under plain-language terms
- Training
- Your images are never added to a training set
Keep exploring
Tools that work with the image to image
Every one runs on the same engine, so a result moves between them without re-uploading.
Start creating today
Generate your first image with the best AI image generator.
Turn a sentence into a finished, photorealistic image in seconds — then refine every detail. No setup, no Discord, no GPU.
Join 4,200+ creators using LaFoto